ShelterBox Challenge
2016-01-16
12 months sleeping in a cardboard box
The origin
It all started with a scout challenge.
In order to raise awareness for homelessness, our scout group does a sleep out in the church car park for charity where we build and sleep in cardboard shelters, and we donate and raise money for the shelterbox charity.
I over-engineered my shelter, and (not quite in the spirit of the challenge) had a brilliant nights sleep.
The construction
Triangles are the simplest straight-edged polygons, which gives them the advantage that the shape doesn't flex if the joints aren't fixed.
This shape is extended out to a toblerone shape, giving a simple, strong box.
The box has a fixed cover at the foot end, and for a door I used a piece of hard foam insulation cut into a triangle, with a peak cut off to allow air circulation.
I got the cardboard itself from a nearby bike shop, and sewed it together using a 'Ken Littledyke' method. This is a 'stitch and glue' method, first used for kayaks, where two pieces of material are sewn together, and then glued or taped over to form a waterproof seal.
This was popularised by Barry Bucknell to make the popular mirror class sailing dinghy.
 My mirror sailing dinghy while sail-camping the coast to coast (another story
for another post!)
The box is made of two triangular prisms: an inner and outer
The innermost was sewn using the stitch and glue method (seams were duct taped over), then layers of foam camping mats were taped to the outside for insulation: two on the bottom, one on each side and one on the top.

Around this two polythene sheets were wrapped around for full waterproofing, followed by another layer of cardboard to protect the sheeting and add extra insulation.
This was held in place by lashing thin string around the box, then covered in a layer of varnish to add some more waterproofing.
This layer proved really useful, and greatly increased the durability of the box. Unfortunately, we ran out of varnish so the underside wasn't done. This meant water tracked up the sides of the box.
12 Months sleeping in a cardboard box
After that first autumn night in the box with the scouts I felt like the box hasn't been tested enough, so come the snow in January, I felt it needed a proper outing.
We moved the box from where it had been stored for a few months and opened it up in the garden on top of a plastic sheet, and I had another brilliant night. It was sub zero throughout the night, but because the box was so insulating, I wasn't cold.
After this first night I decided to challenge myself, and sleep in the cardboard box one night a month for a full year.
Dates
- Sat 16th January
- Wed 10th February
- Sun 30th March
- Sun 3rd April & Sat 16th April
- Mon 2nd May
- Mon 27th June
- Sun 7th August
- Wed 28th September
- Mon 3rd October
- Wed 2nd November
- Sat 3rd December
The Winter and Autumn months were the better nights, as it was cool enough that I didn't overheat inside the box. For all but the coldest nights I didn't even zip up my sleeping bag!
In the summer nights the box became too warm, and I slept without the sleeping bag, usually opting to push it down to my feet and propping the door open to let more air through.
As you can see by the dates, in April I slept in the box twice. This wasn't intentional, we just forgot I'd already done it!
Sometimes in the morning birds would wake me up using the box as a perch, and the early light meant I woke early and got much less sleep.
The box was fine in length, however if I ever made one again I'd make it much
bigger in height. Luckily I don't suffer from claustrophobia, as the box was so
tight there wasn't enough room for me to reach my feet.
Getting into the box was quite difficult. Usually I'd balance my pillow on the
apex, then use the door as a seat and shuffle my way in.
Here you can fully appreciate the size of the box, the of the triangle base was
just wider than my shoulders.
Also shown on the sides is the stitching to hold the inner prism together.
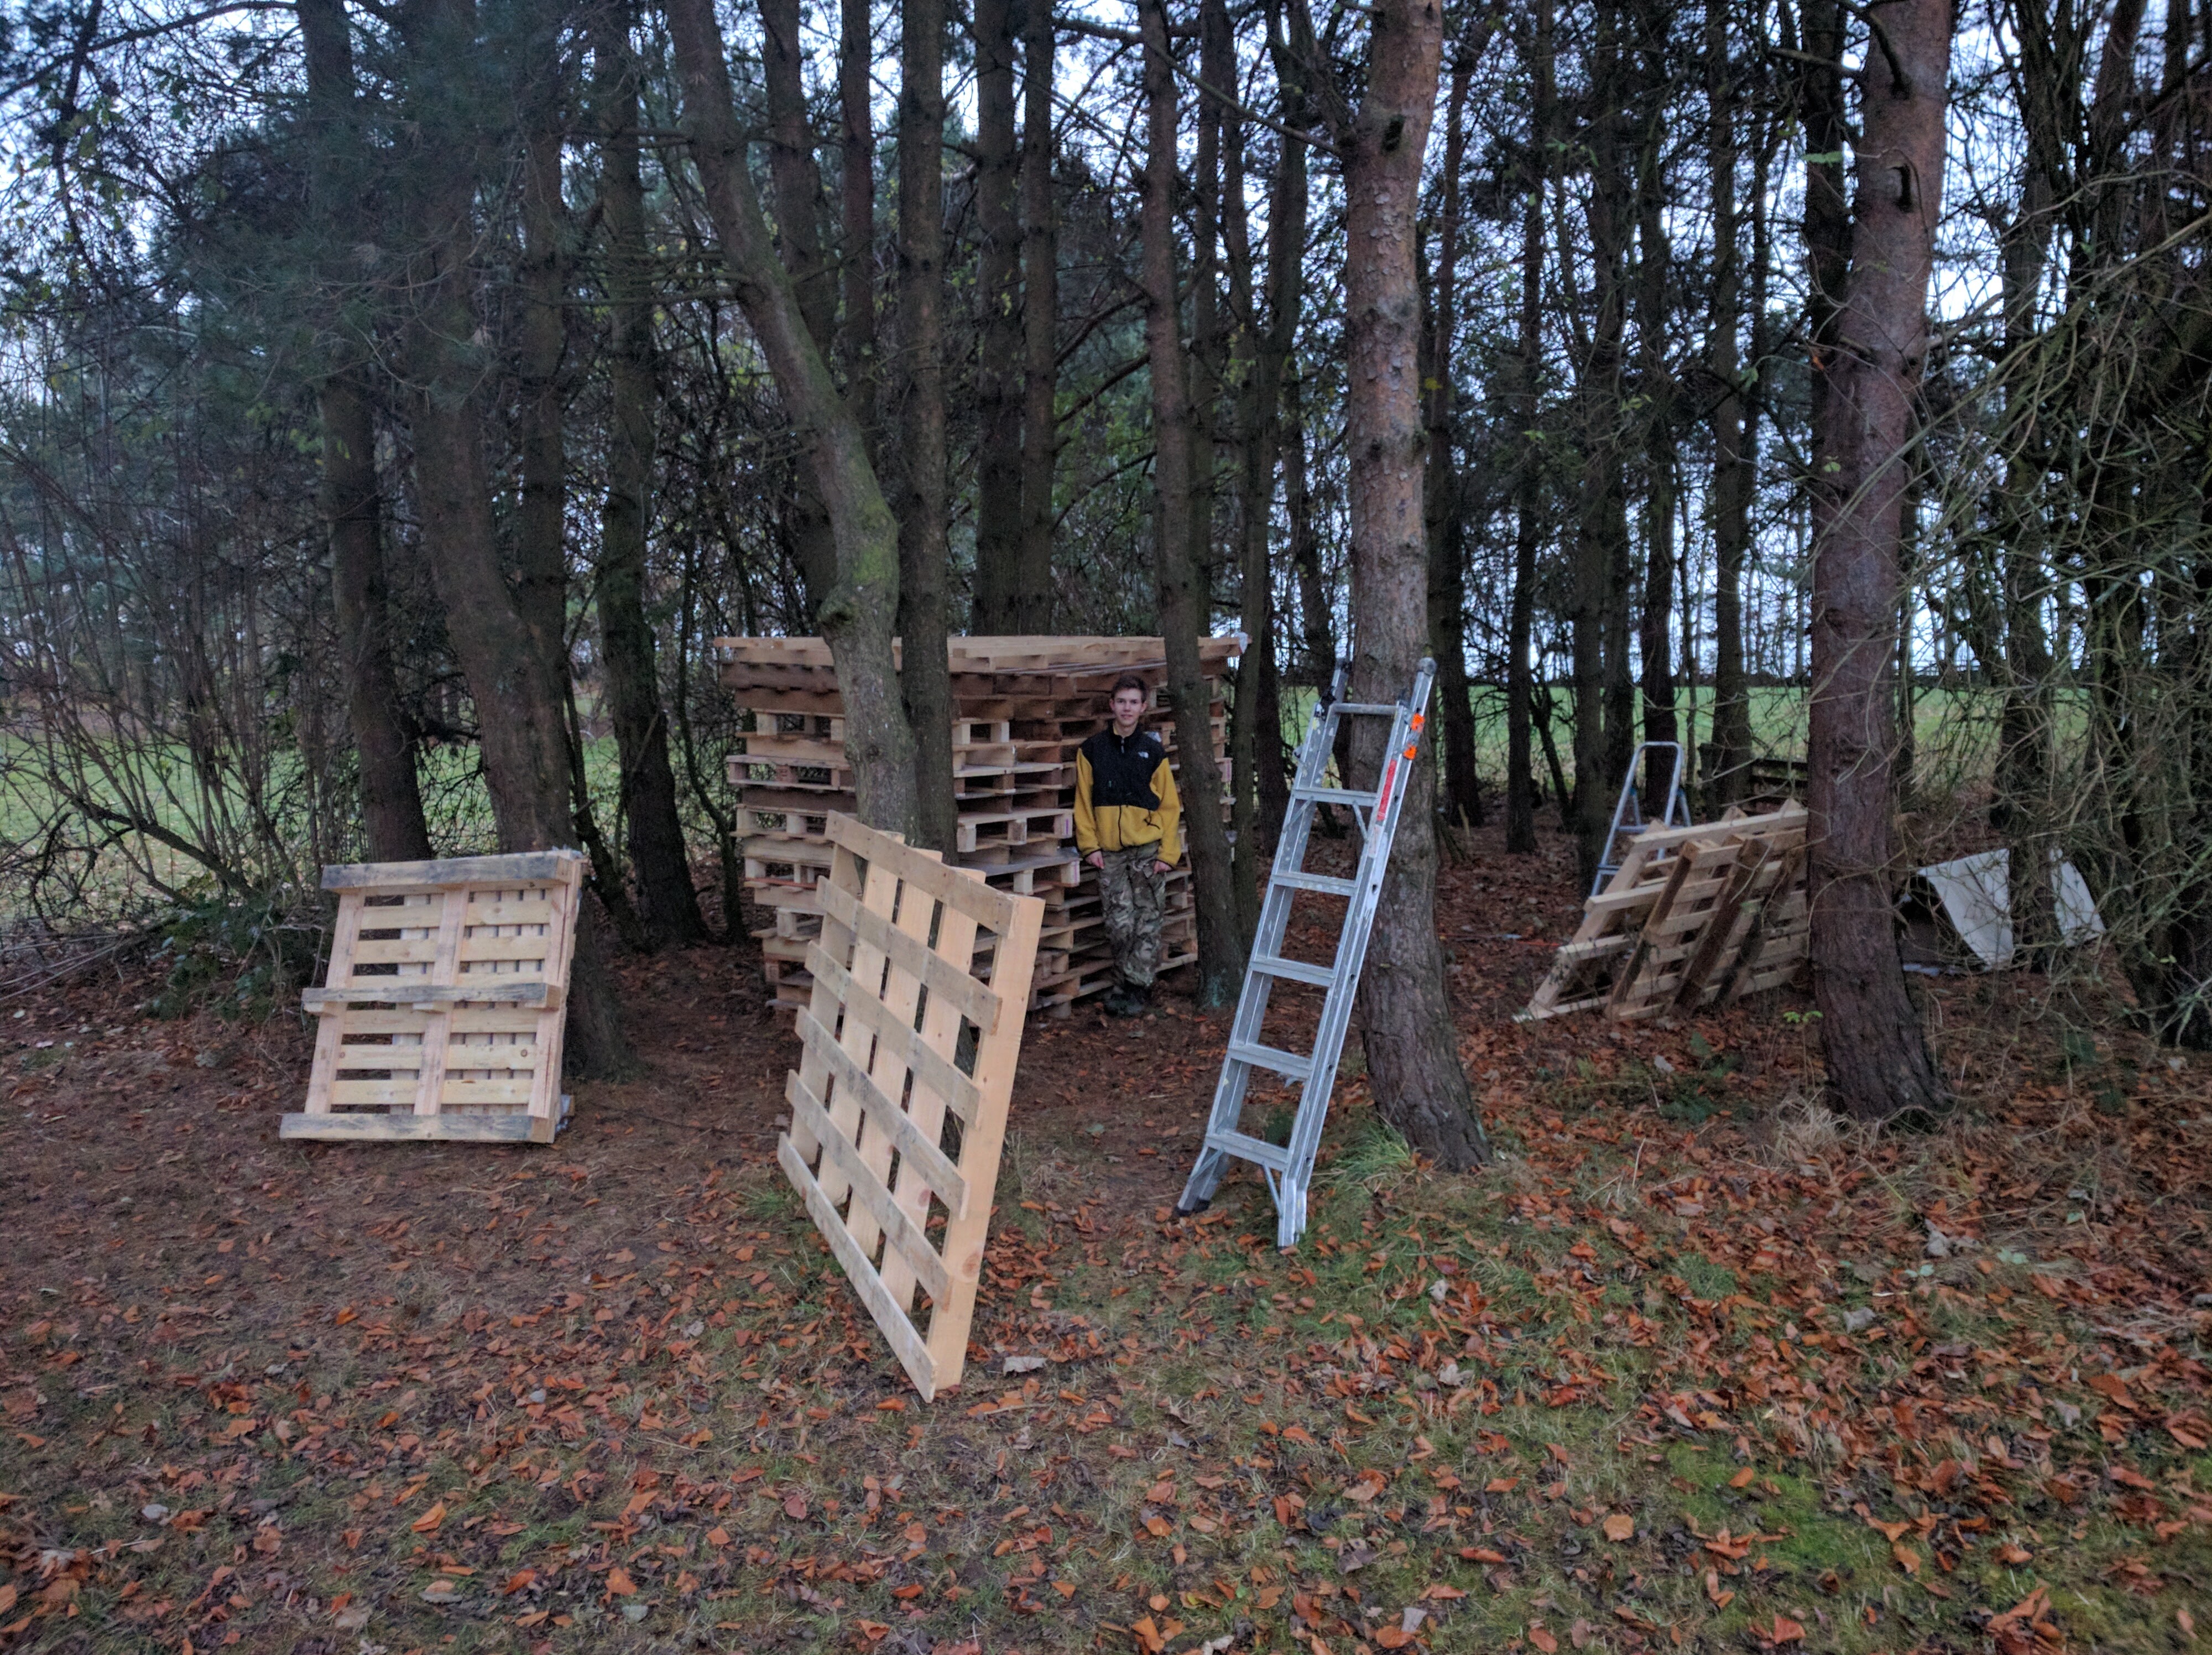
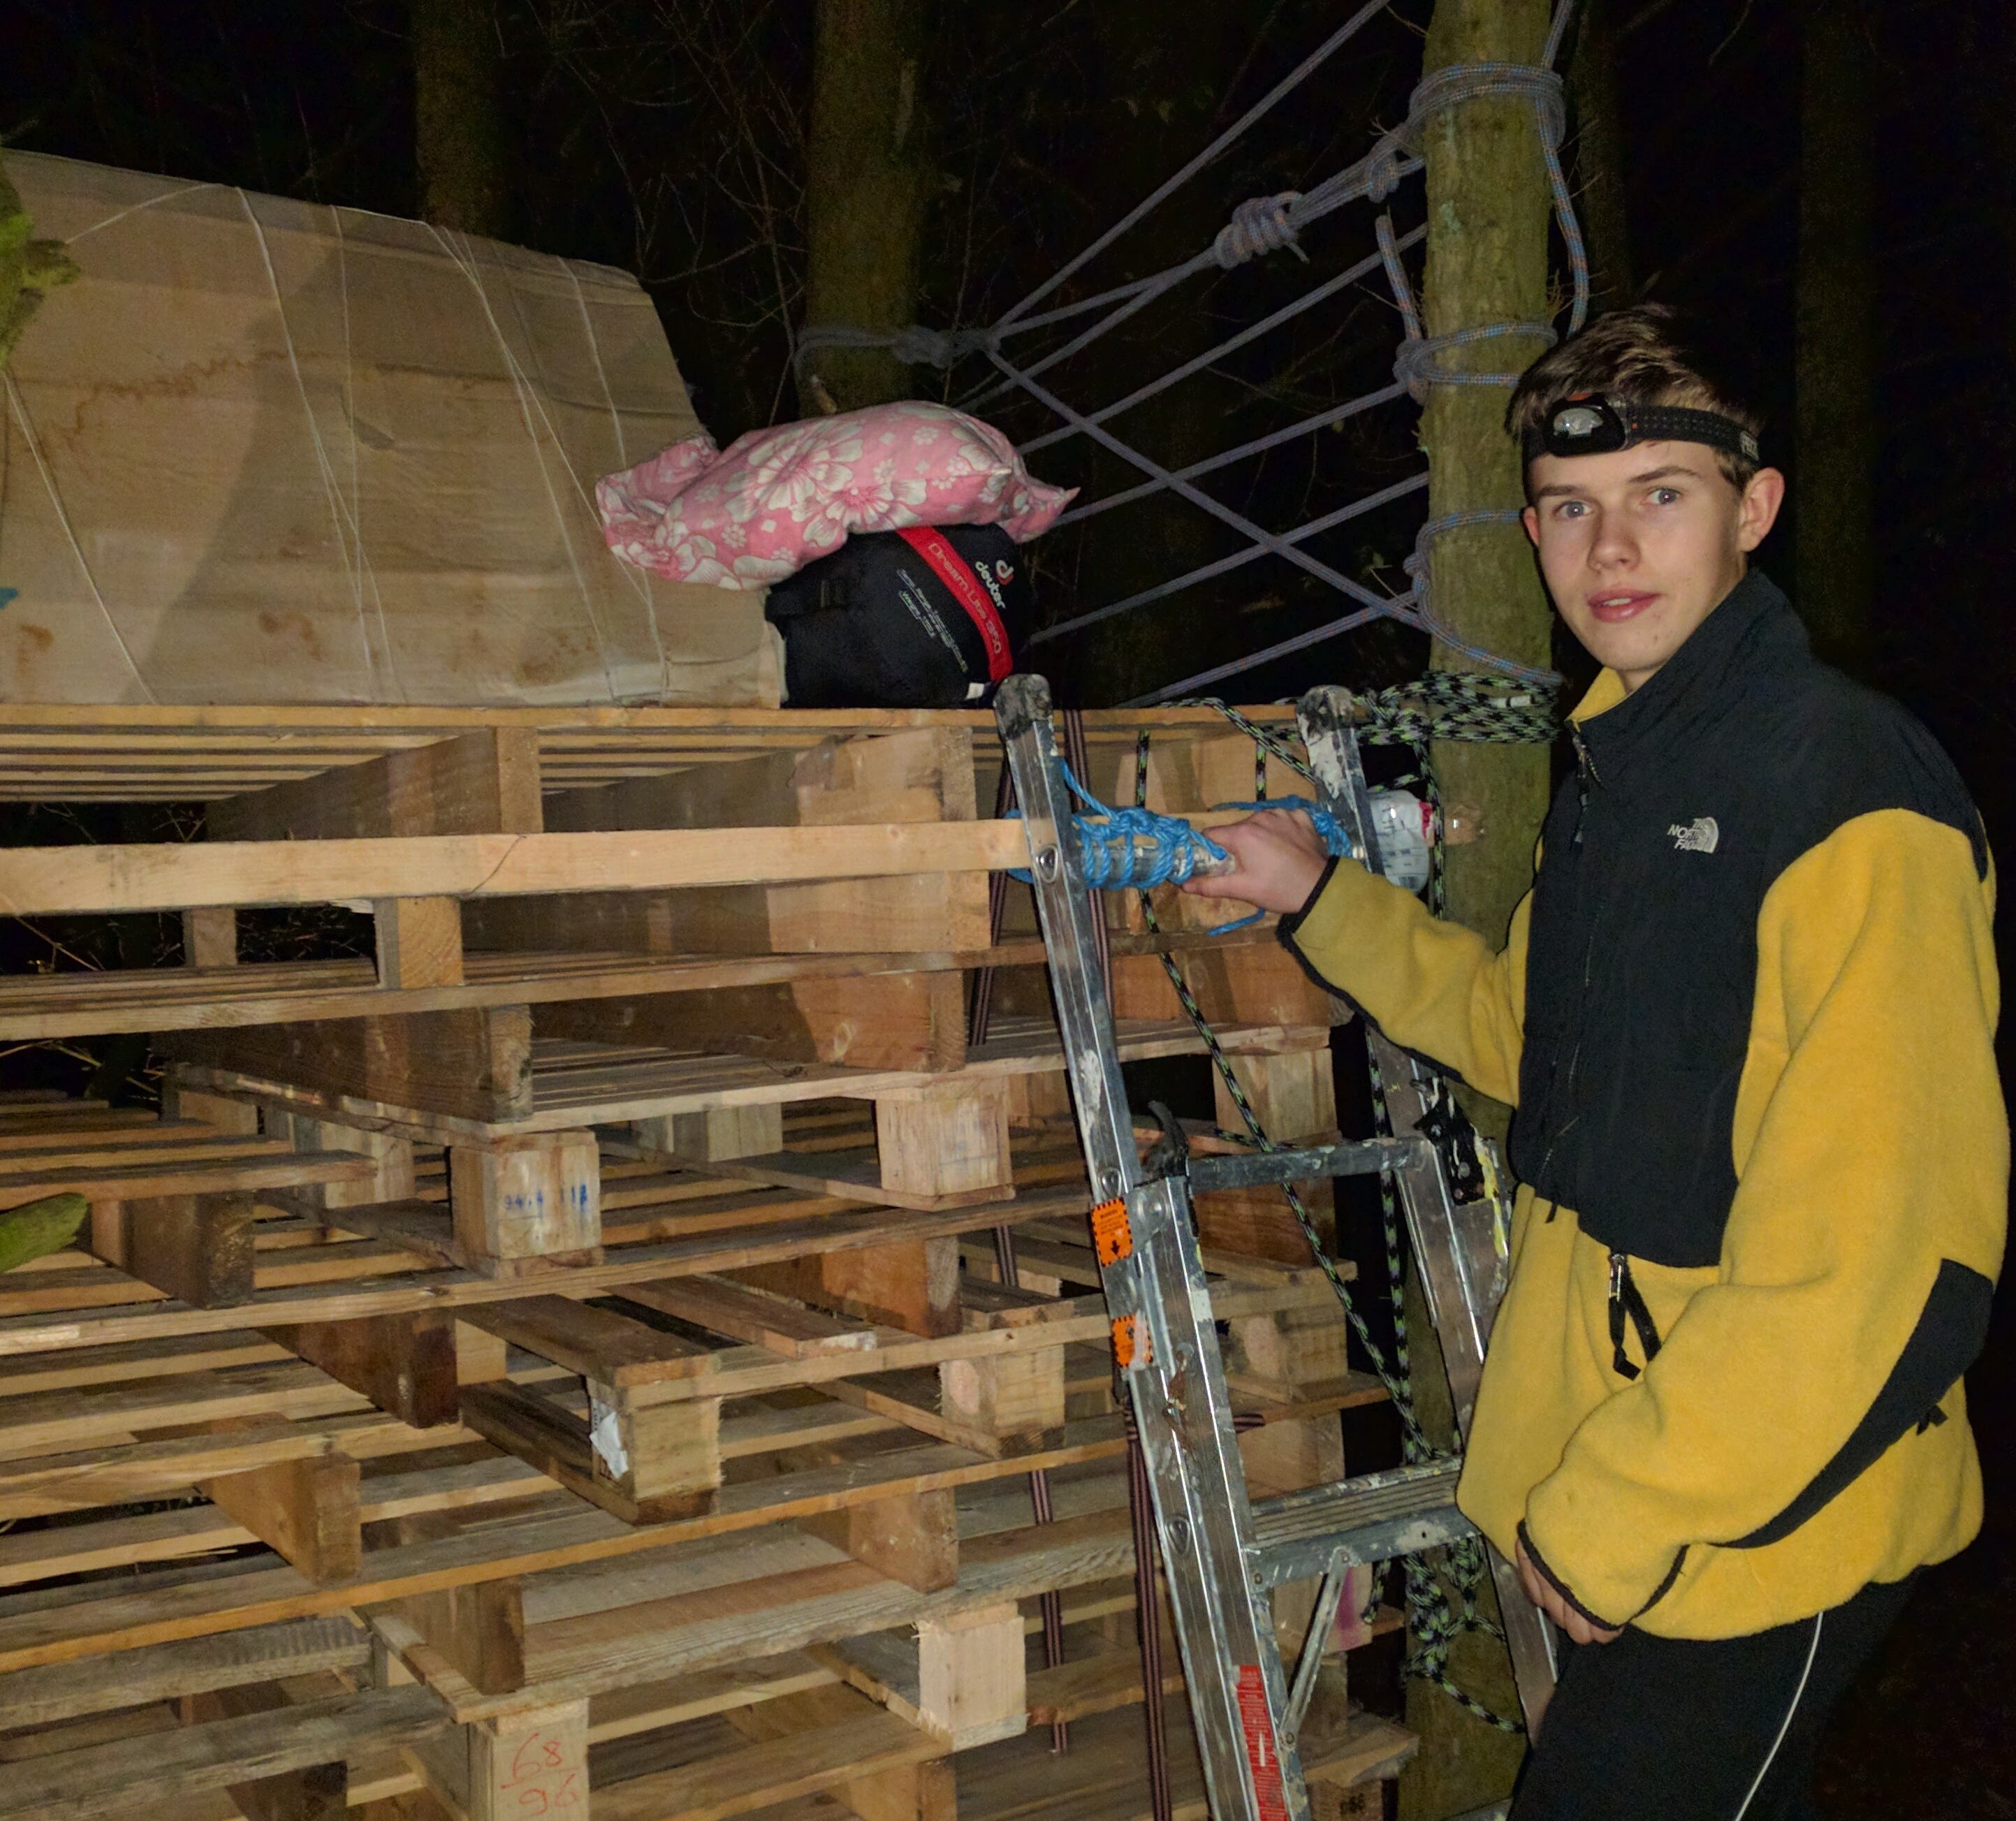
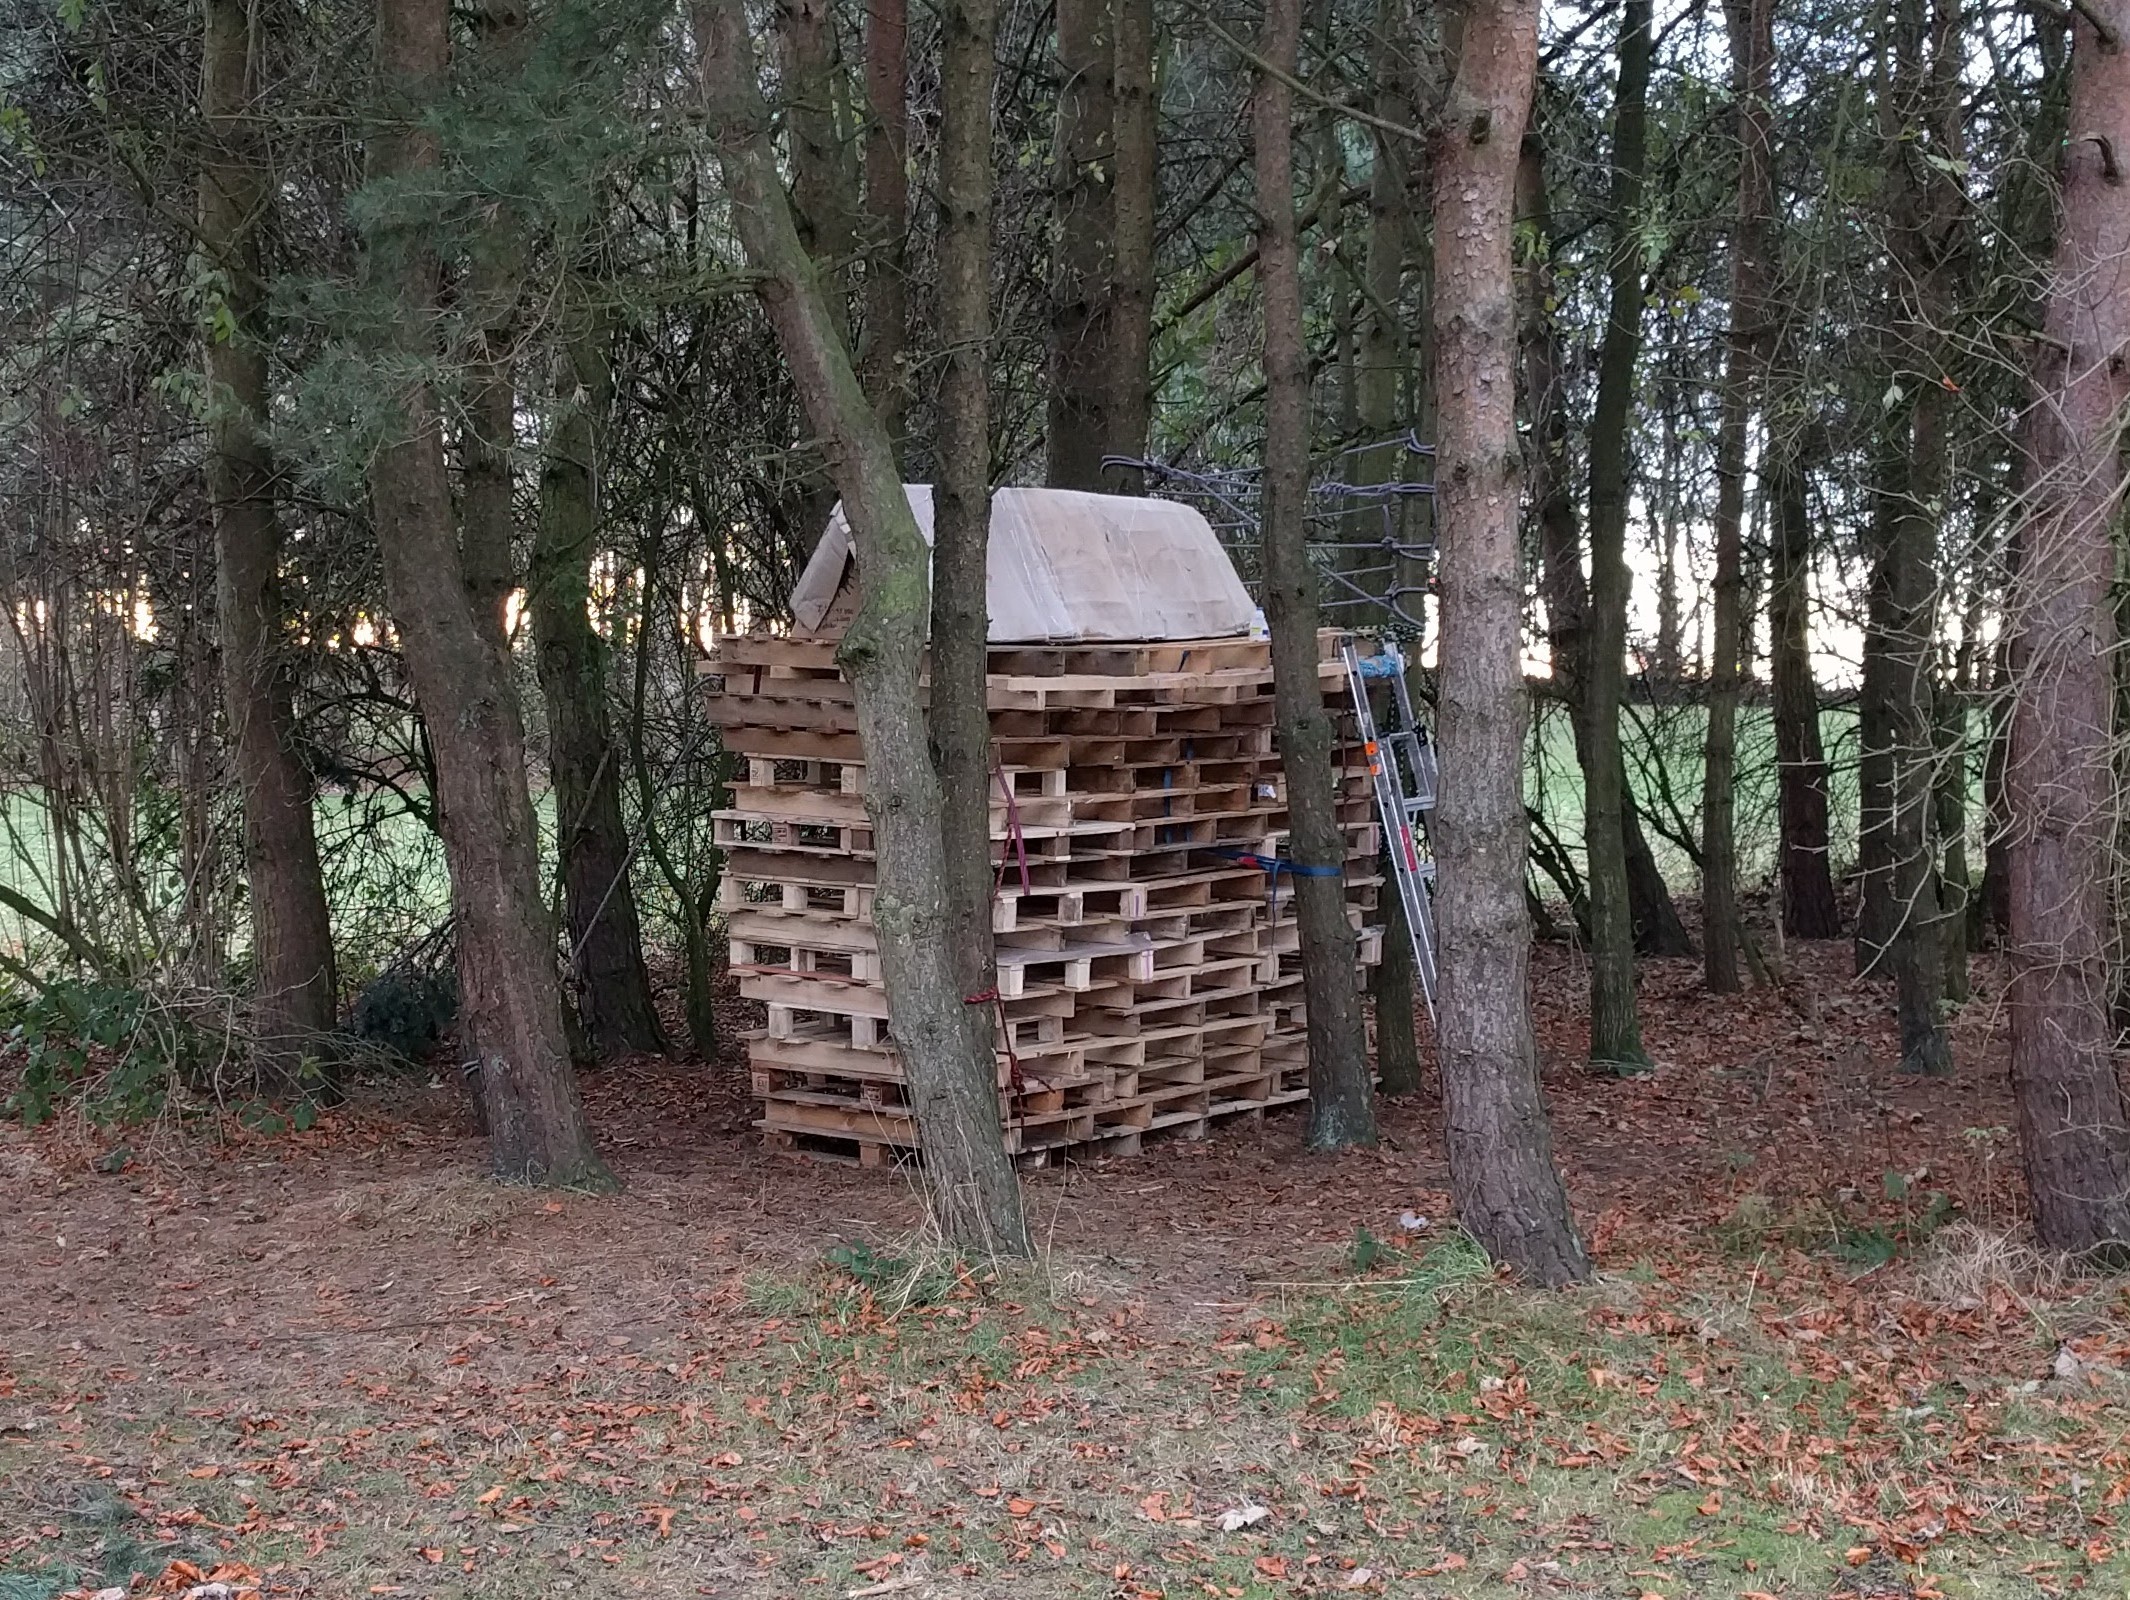
As part of another scouting challenge (the Yorkshire Challenge), you must spend the night 2m above the ground. So to combine the last night of my shelterbox challenge and the Yorkshire Challenge together, I slept in the shelterbox, 2m above the ground.
I did this by stacking wooden pallets on top of each other to create a platform, then simply put the box on top of it!


